PX4 — Telemetry Radio Setup Guide
All instructions below assume the MicoAir radio's factory default settings: 57600 baud, duplex mode, automatic pairing on power-up (LED solid green).
QGroundControl GCS — official download
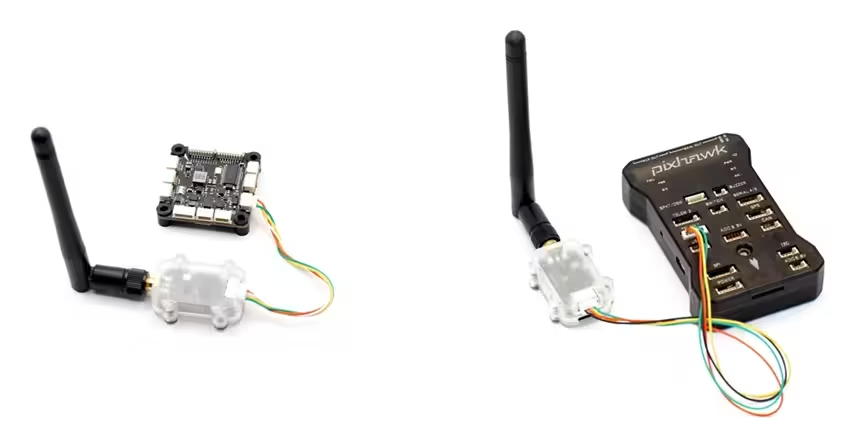
Step 1 — Connect the radio to the flight controller
Connect the MicoAir radio to the telemetry port on your PX4 flight controller — usually TELEM1, though other free ports such as TELEM2/3 also work (every serial port on a PX4 flight controller is configurable). Note: the radio's Rx connects to the flight controller's Tx, and Tx to Rx.
On a Pixhawk 2.4.8 or Pixhawk 6, you can connect directly with the supplied cable.
LR900-series and LR24-series radios have different pinouts; refer to the matching manual:
- LR900 Telemetry Radio — User Manual
- LR24 Telemetry Radio — User Manual (coming soon)
Step 2 — Configure the flight controller
Connect the flight controller to your computer via USB, open QGroundControl, and connect.
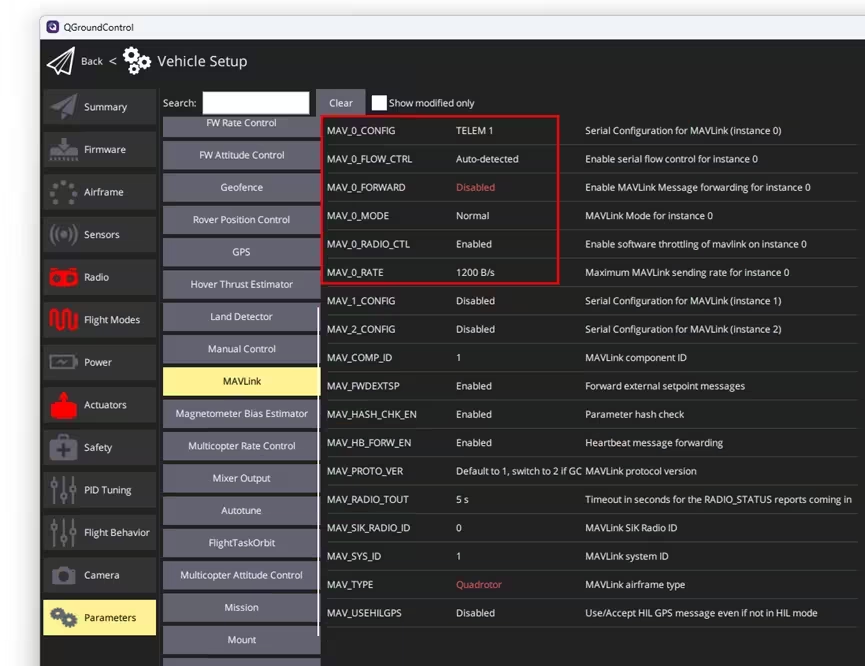
In the parameter list, find MAVLink and set the MAV_0 parameters:
MAV_0_CONFIG = TELEM1(radio connected to the TELEM1 port)MAV_0_FORWARD = DisabledMAV_0_MODE = NormalMAV_0_RATE = 1200 B/s
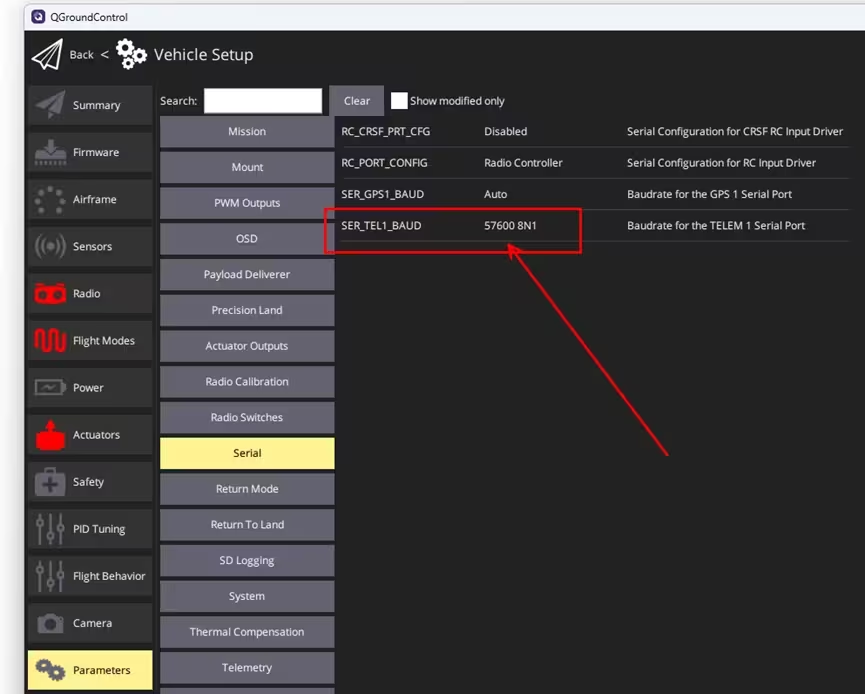
Reboot the flight controller and reconnect. In the parameter list, open the Serial parameters page and set:
SER_TEL1_BAUD = 57600 8N1
People often ask this. In PX4, a serial port's related parameters (such as baud rate) only become available once that port has been assigned a function. By the same logic, if you can't find a particular PX4 parameter in QGC, some prerequisite function or parameter hasn't been enabled yet.
Step 3 — Connect the other radio to the computer
Connect the second radio to your computer with a Type-C cable. Note: in default mode, MicoAir radios don't require distinguishing an air end from a ground end.
The first time, install the driver. For the CP2102 driver on Windows, see:
CP2102 Driver Installation Guide (Windows)
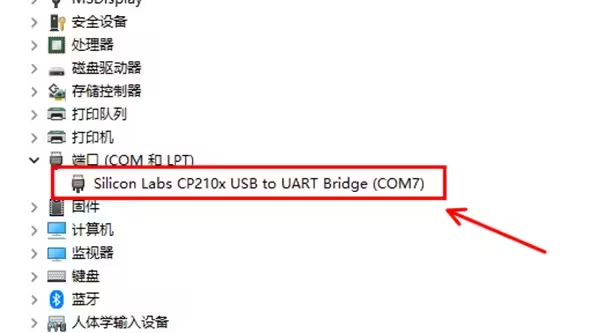
After installation you'll see the CP210x device and its assigned port under Ports in Device Manager — COM7 in the example.
Step 4 — Connect to the flight controller through the radio
Automatic connection
The LR900-F/P and LR24-F/P radios support QGC automatic connection.
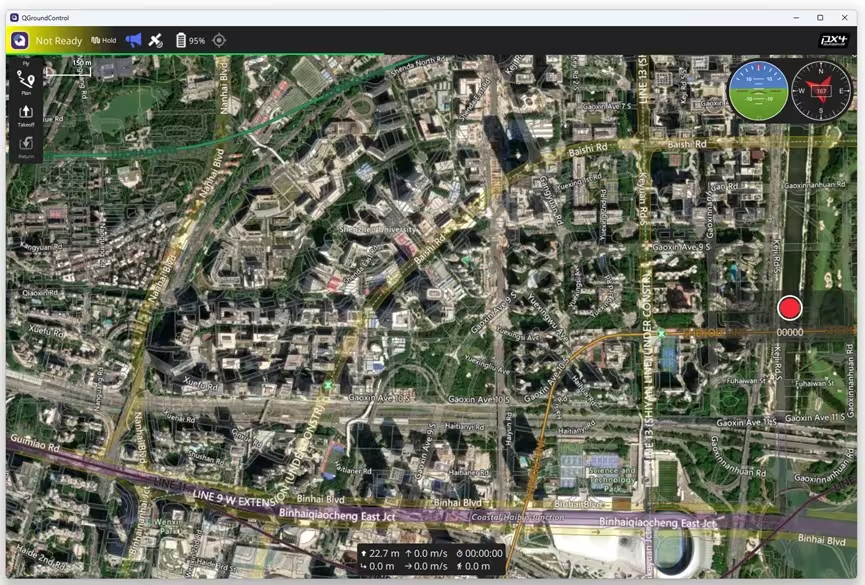
Reopen QGroundControl; normally, with no setup required, QGC automatically detects the radio's port and connects to the flight controller. Parameter loading usually completes within 2–3 seconds, though it can occasionally take around 10 seconds.
If QGC doesn't auto-detect and connect, check that auto-connect isn't disabled — verify SiK Radio is ticked (below).

Manual connection
The LR900-A radio must be connected manually in QGC.
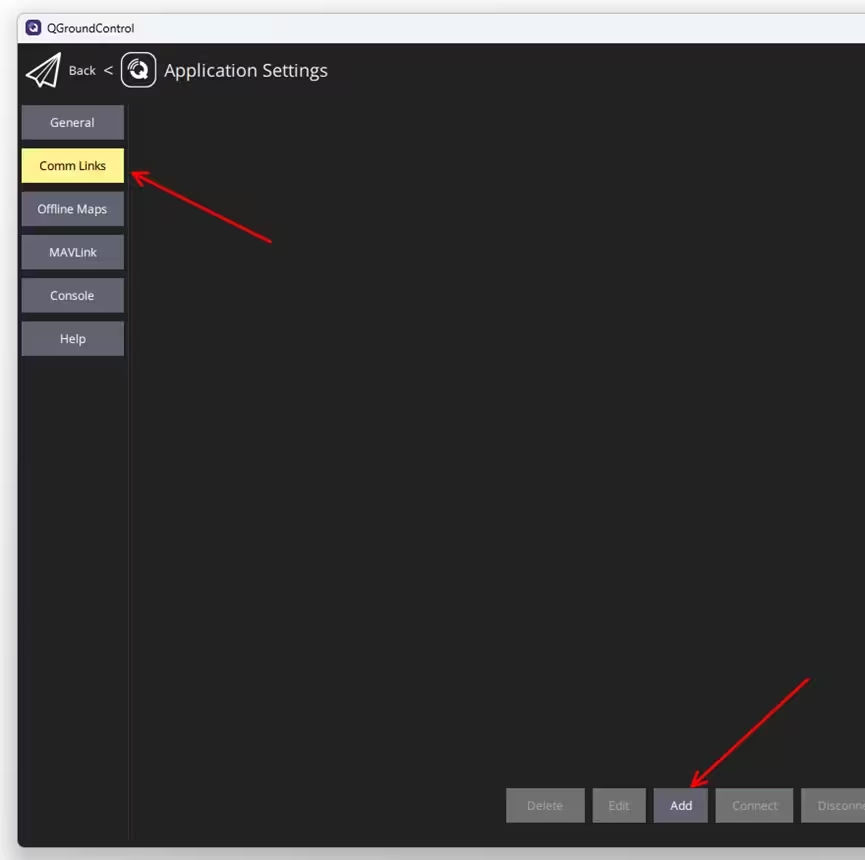
In Application Settings → Comm Links, click Add and edit the connection settings.
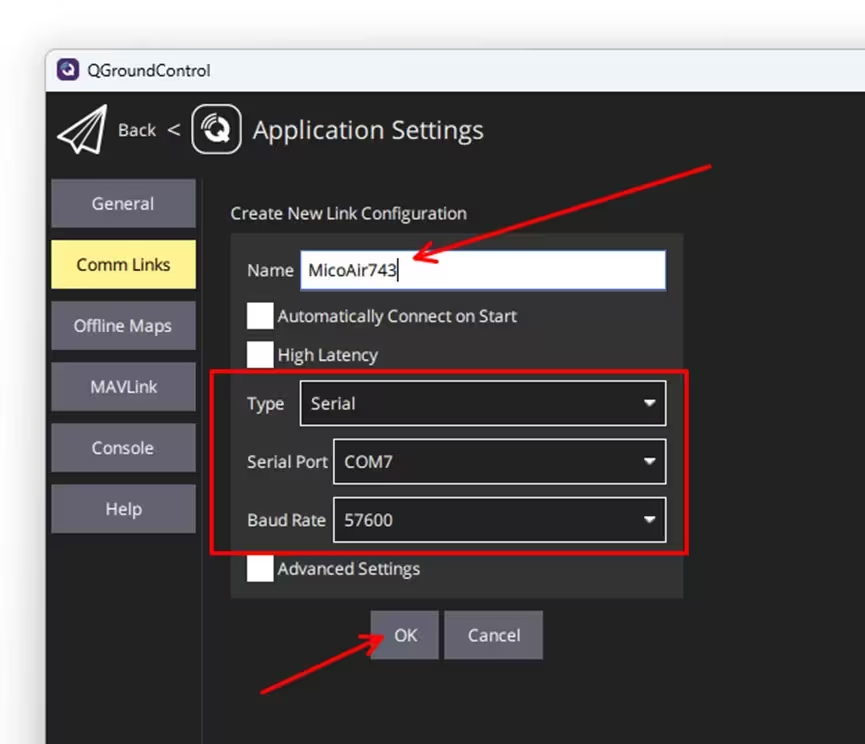
Enter a name, set Type to Serial, select the radio's port, set baud to 57600 (default), and click OK.
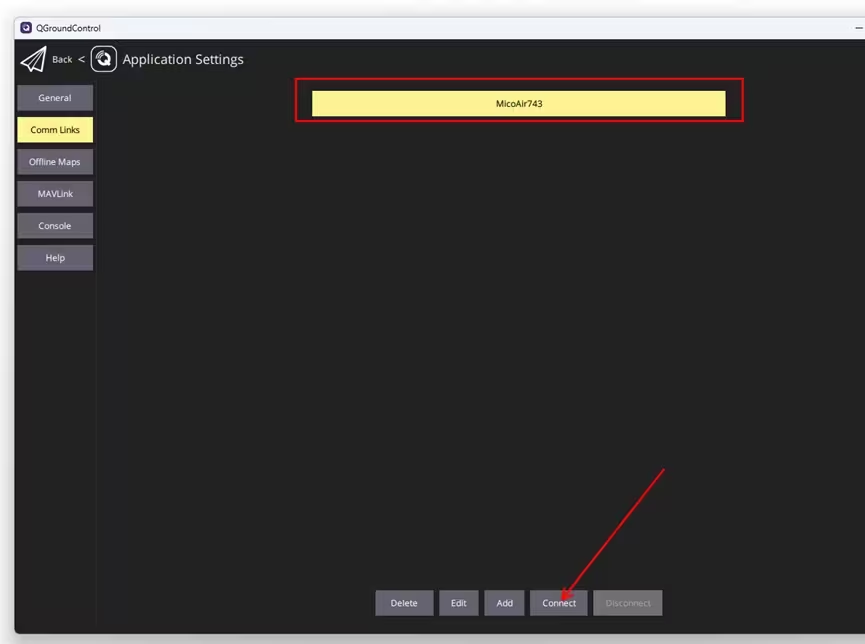
Select the connection name, then click Connect below; QGC will begin connecting to the flight controller through the radio.
Translated and adapted into English by Robofusion from MicoAir's official tutorial. Original (Chinese): PX4飞控-数传配置使用教程.